Difference between revisions of "Taking NeTV Apart"
(Created page with "Taking NeTV apart is easy once you know where the screws and snaps are. First, peel back the protrusions in the rubber foot to reveal and remove four screws: [[File:Peel four s...") |
|||
| Line 9: | Line 9: | ||
[[File:Insert screw.jpg | 600px]] | [[File:Insert screw.jpg | 600px]] | ||
| − | Once it is clear, the whole assembly should come apart. | + | Once it is clear, the whole assembly should come apart. Be sure to remove the side with the HD video in connector first. Removing it from the opposite side can damage the IR extender jack and the setup switch. |
[[File:Correct assembly.jpg | 600px]] | [[File:Correct assembly.jpg | 600px]] | ||
Latest revision as of 14:58, 4 December 2011
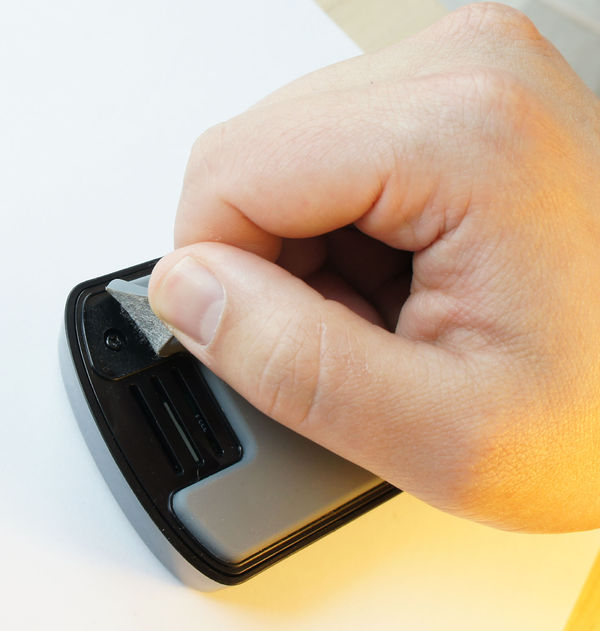
Taking NeTV apart is easy once you know where the screws and snaps are.
First, peel back the protrusions in the rubber foot to reveal and remove four screws:
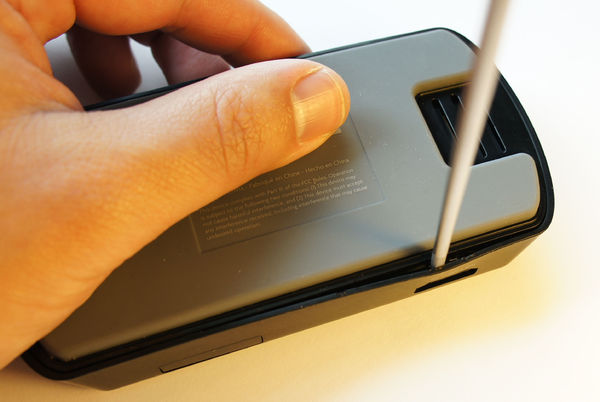
Second, use a thin flathead screwdriver to jam into the plastic between the "HD video in" connector and the bottom case. The plastic will warp outwards. Use the screwdriver to pry the HDMI connector out of its mounting hole.
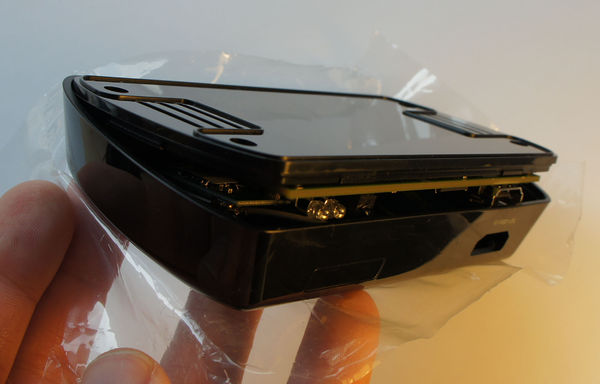
Once it is clear, the whole assembly should come apart. Be sure to remove the side with the HD video in connector first. Removing it from the opposite side can damage the IR extender jack and the setup switch.


